Owning a car opens endless possibilities and adventures, but knowing how to change a tyre is a crucial survival skill. Flat tyres can strike anytime, anywhere, and being unprepared can leave you frustrated. In this guide, we'll make you a tyre-changing pro, ensuring you can handle flats with confidence and a smile. Join us on this empowering journey to tackle flat tyres swiftly and safely.
Step 1 - Start by gathering the necessary tools and equipment.
Before you begin replacing tyres, make sure you have all the necessary tools and equipment on hand. Having the correct equipment on hand helps speed up the process and secure your safety. Here is a quick rundown of what you'll require:
Tools and equipment checklist:
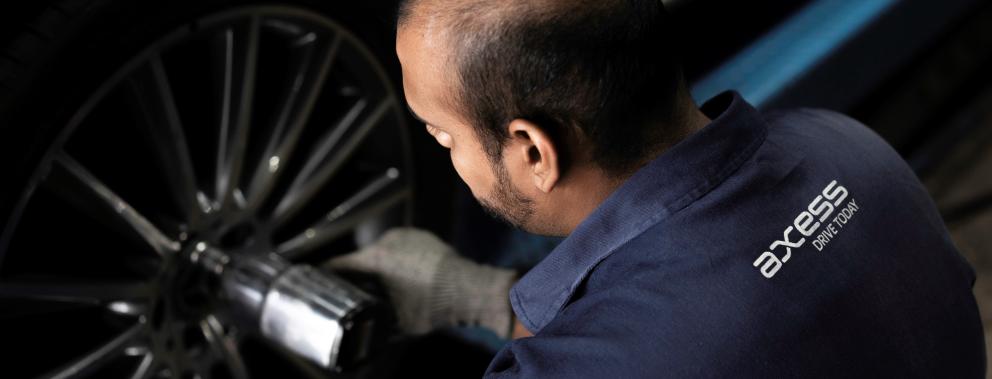
- Wrench for lugs: The helpful L-shaped tool can help you loosen the lug nuts on your flat tyre.
- Jack: Meet your tyre-lifting superhero- the jack!
- Gloves: For better grip and safety.
- Flashlight: For safety and clearer vision at night.
- Wheel Chocks also known as "Kal larou" to prevent unwanted vehicle movement and thus improve safety.
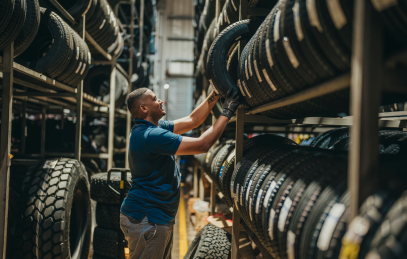
- Spare Tyre: Of course, you need a spare tyre to change a flat tyre.
Step 2 - Preparing your vehicle
Finding a safe spot and applying the parking brake
Begin by finding a safe spot for your tyre-changing adventure. If possible, park your vehicle away from traffic in a flat and sturdy area.
Note: Don’t forget to turn on your hazard lights to help other drivers see you on the side of the road.
Loosening the lug nuts
Now that your vehicle is safely parked and the parking brake is engaged, it's time to get your hands dirty. Remove the hubcaps or wheel cover if any. Proceed to loosen the lug nuts. Turn each lug nut anticlockwise with the lug wrench, which is supplied with most vehicle toolkits. Start turning those lug nuts counterclockwise, and remember, it's all about the technique. Lug nuts can be stubborn, like a pickle jar that just won't open, so keeping your balance is key to a safe and successful tire wrap.
Step 3 - Time for a lift-off
Now that the lug nuts are loosened, it's time to raise your vehicle safely off the ground. The best spot for the jack is usually beneath the car frame, next to the flat tyre. Follow your owner's manual's guidance for a safe lift and pop a piece of wood of 2x6 underneath your vehicle before attempting to elevate to prevent the jack from sinking under the weight of your vehicle and becoming unbalanced. This technique is very useful on asphalt. Raise the car with the jack properly positioned until the flat tyre is roughly six inches above the ground.
Advice: Never place any part of your body under the vehicle while it is being raised with the jack.
Step 4 - Removing the flat tyre
It's now time to completely remove the lug nuts. You should be able to unscrew them mostly by hand now that you've already loosened them. Pull the tyre towards you, gripping it by the treads, until it is fully free of the hub behind it. Set it on its side to prevent it from rolling away.
Step 5 - Installing the spare tyre
With the flat tyre waving goodbye, it's showtime for the spare tyre. Place it on the hub, and line up the rim with those lug bolts. Gently push the spare tyre until the lug bolts show through the rim. You can now put back the lug nuts and tighten them all the way by hand.
Step 6 - Lowering the vehicle and packing up
Time to lower the vehicle using the jack so that the spare tire is on the ground but make sure that the full weight of the vehicle is not on the tire just yet. At this stage, tighten the lug nuts as much as you can using the wrench, turning clockwise. Use your entire body weight to press down on the lug wrench. Once you've conquered that lug nut challenge, bring the vehicle down to the ground and say 'au revoir' to the jack. Check the lug nuts again with the wrench to make sure they are tightened as much as possible. Put back the wheel cover or hub cap if it fits the spare tire, else stow it away with the flat tire and store your equipment.
Step 7 - Final safety check
Before you unleash your inner road warrior, perform a final check to make sure the pressure in the tire is correct and safe to drive with. If not, drive slowly to your nearest service station.
And now, a word of wisdom: your spare tyre is like a sprinter, great for short dashes but not built for marathon runs. Therefore, make sure to take your flat tyre to your technician for a repair or replacement. It's the wheel deal!
Our expert advice
For your safety and the safety of others, it is crucial to equip your vehicles with good tyres. For instance, Michelin tyres offer enhanced braking distance and better road handling in both dry and wet conditions, which is particularly important during the heavy summer rain season. Their advanced technology not only increases efficiency but also extends tyres life, ensuring a cost-effective and secure driving experience. Additionally, for those seeking a balance of performance, comfort, and off-road capability, BFGoodrich tyres are an excellent choice for both pick-ups and passenger vehicles. With Michelin and BFGoodrich, you're investing in a safer, more reliable, and versatile driving experience under any condition.